Kim & Garrett are a fun loving couple that likes to DIY and their projects include a wide range of things like home decor, furniture, home improvements, and renovations. We are excited for the opportunity to partner with them to explore how leather can be used as a cuttable surface.
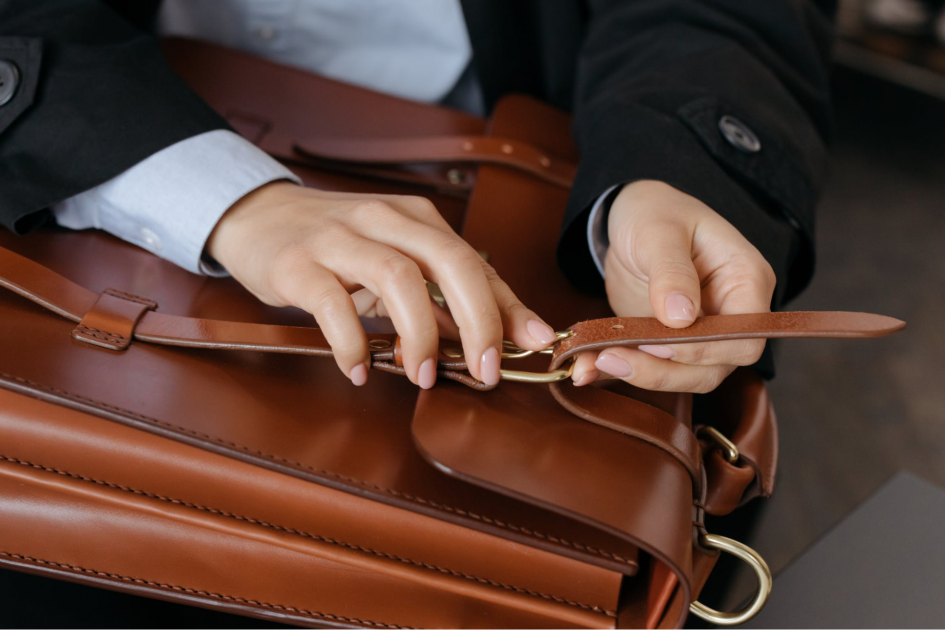
In this video, Kim and Garrett demonstrate how to use leather with a Cricut, Glowforge, and xTool laser to create 3 different fun projects: a mini-backpack, a flowered wristlet keychain, and a hat patch.
Cricut x Leather Tips
The flesh (rough) side of the leather can quickly ruin the adhesive backing on your cutting mat. To prevent this, consider either lining the pack with packing tape or attaching the leather to the mat grain (smooth) side down.
When using leather on your Cricut, move the star wheels all the way to the outside of the bar to make sure they don't leave markings on the leather.
Laser x Leather Tips
Getting black burn marks where the laser cuts on your leather? Try masking it to prevent char or burn. Also, for vegetable-tanned projects, experiment with casing (lightly dampening) the leather to minimize burning.
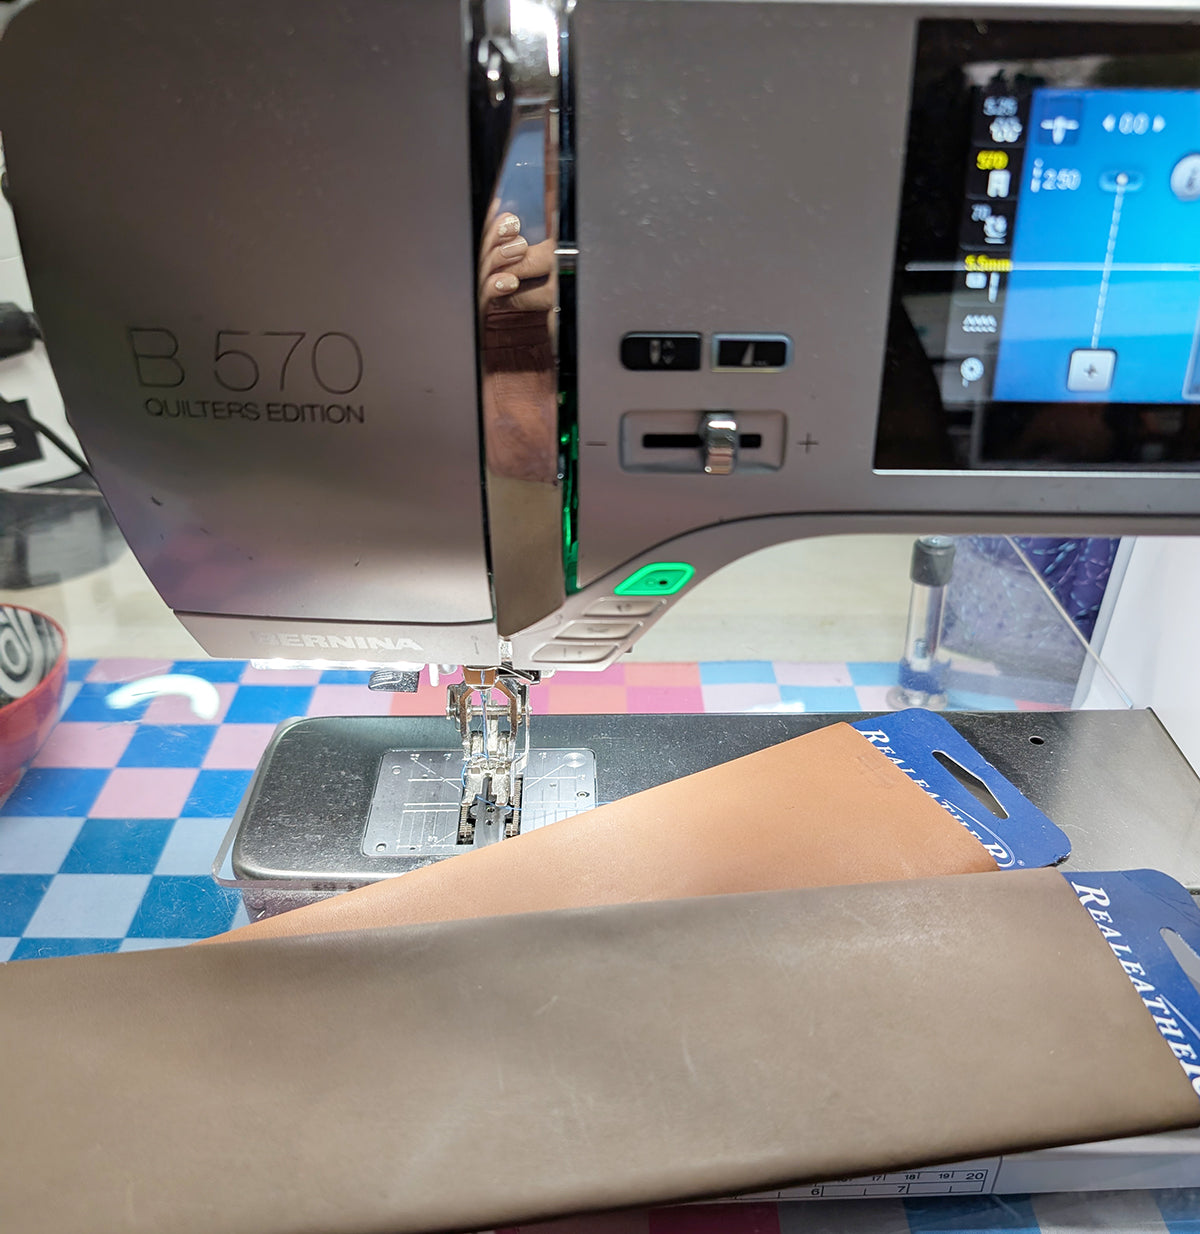
Glowforge has added a sewing holes option under "patterned lines" on the app, which is a game-changer for creating stitching guides on your leather project.
General Leather Craft Tips
Using double-sided tape on the back of your project, such as a hat patch, can hold it in place while you are sewing.
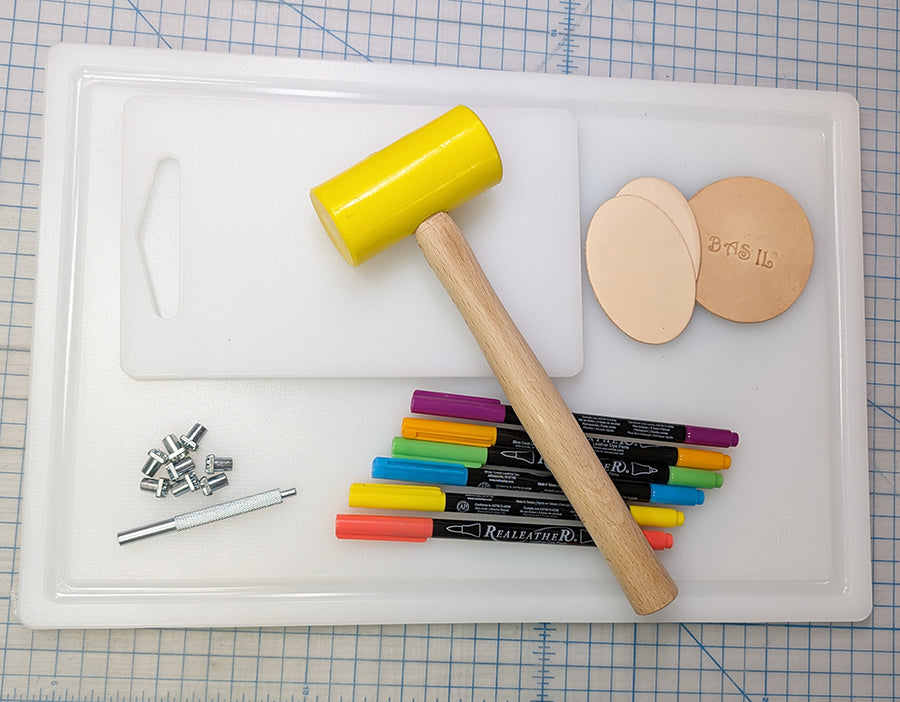
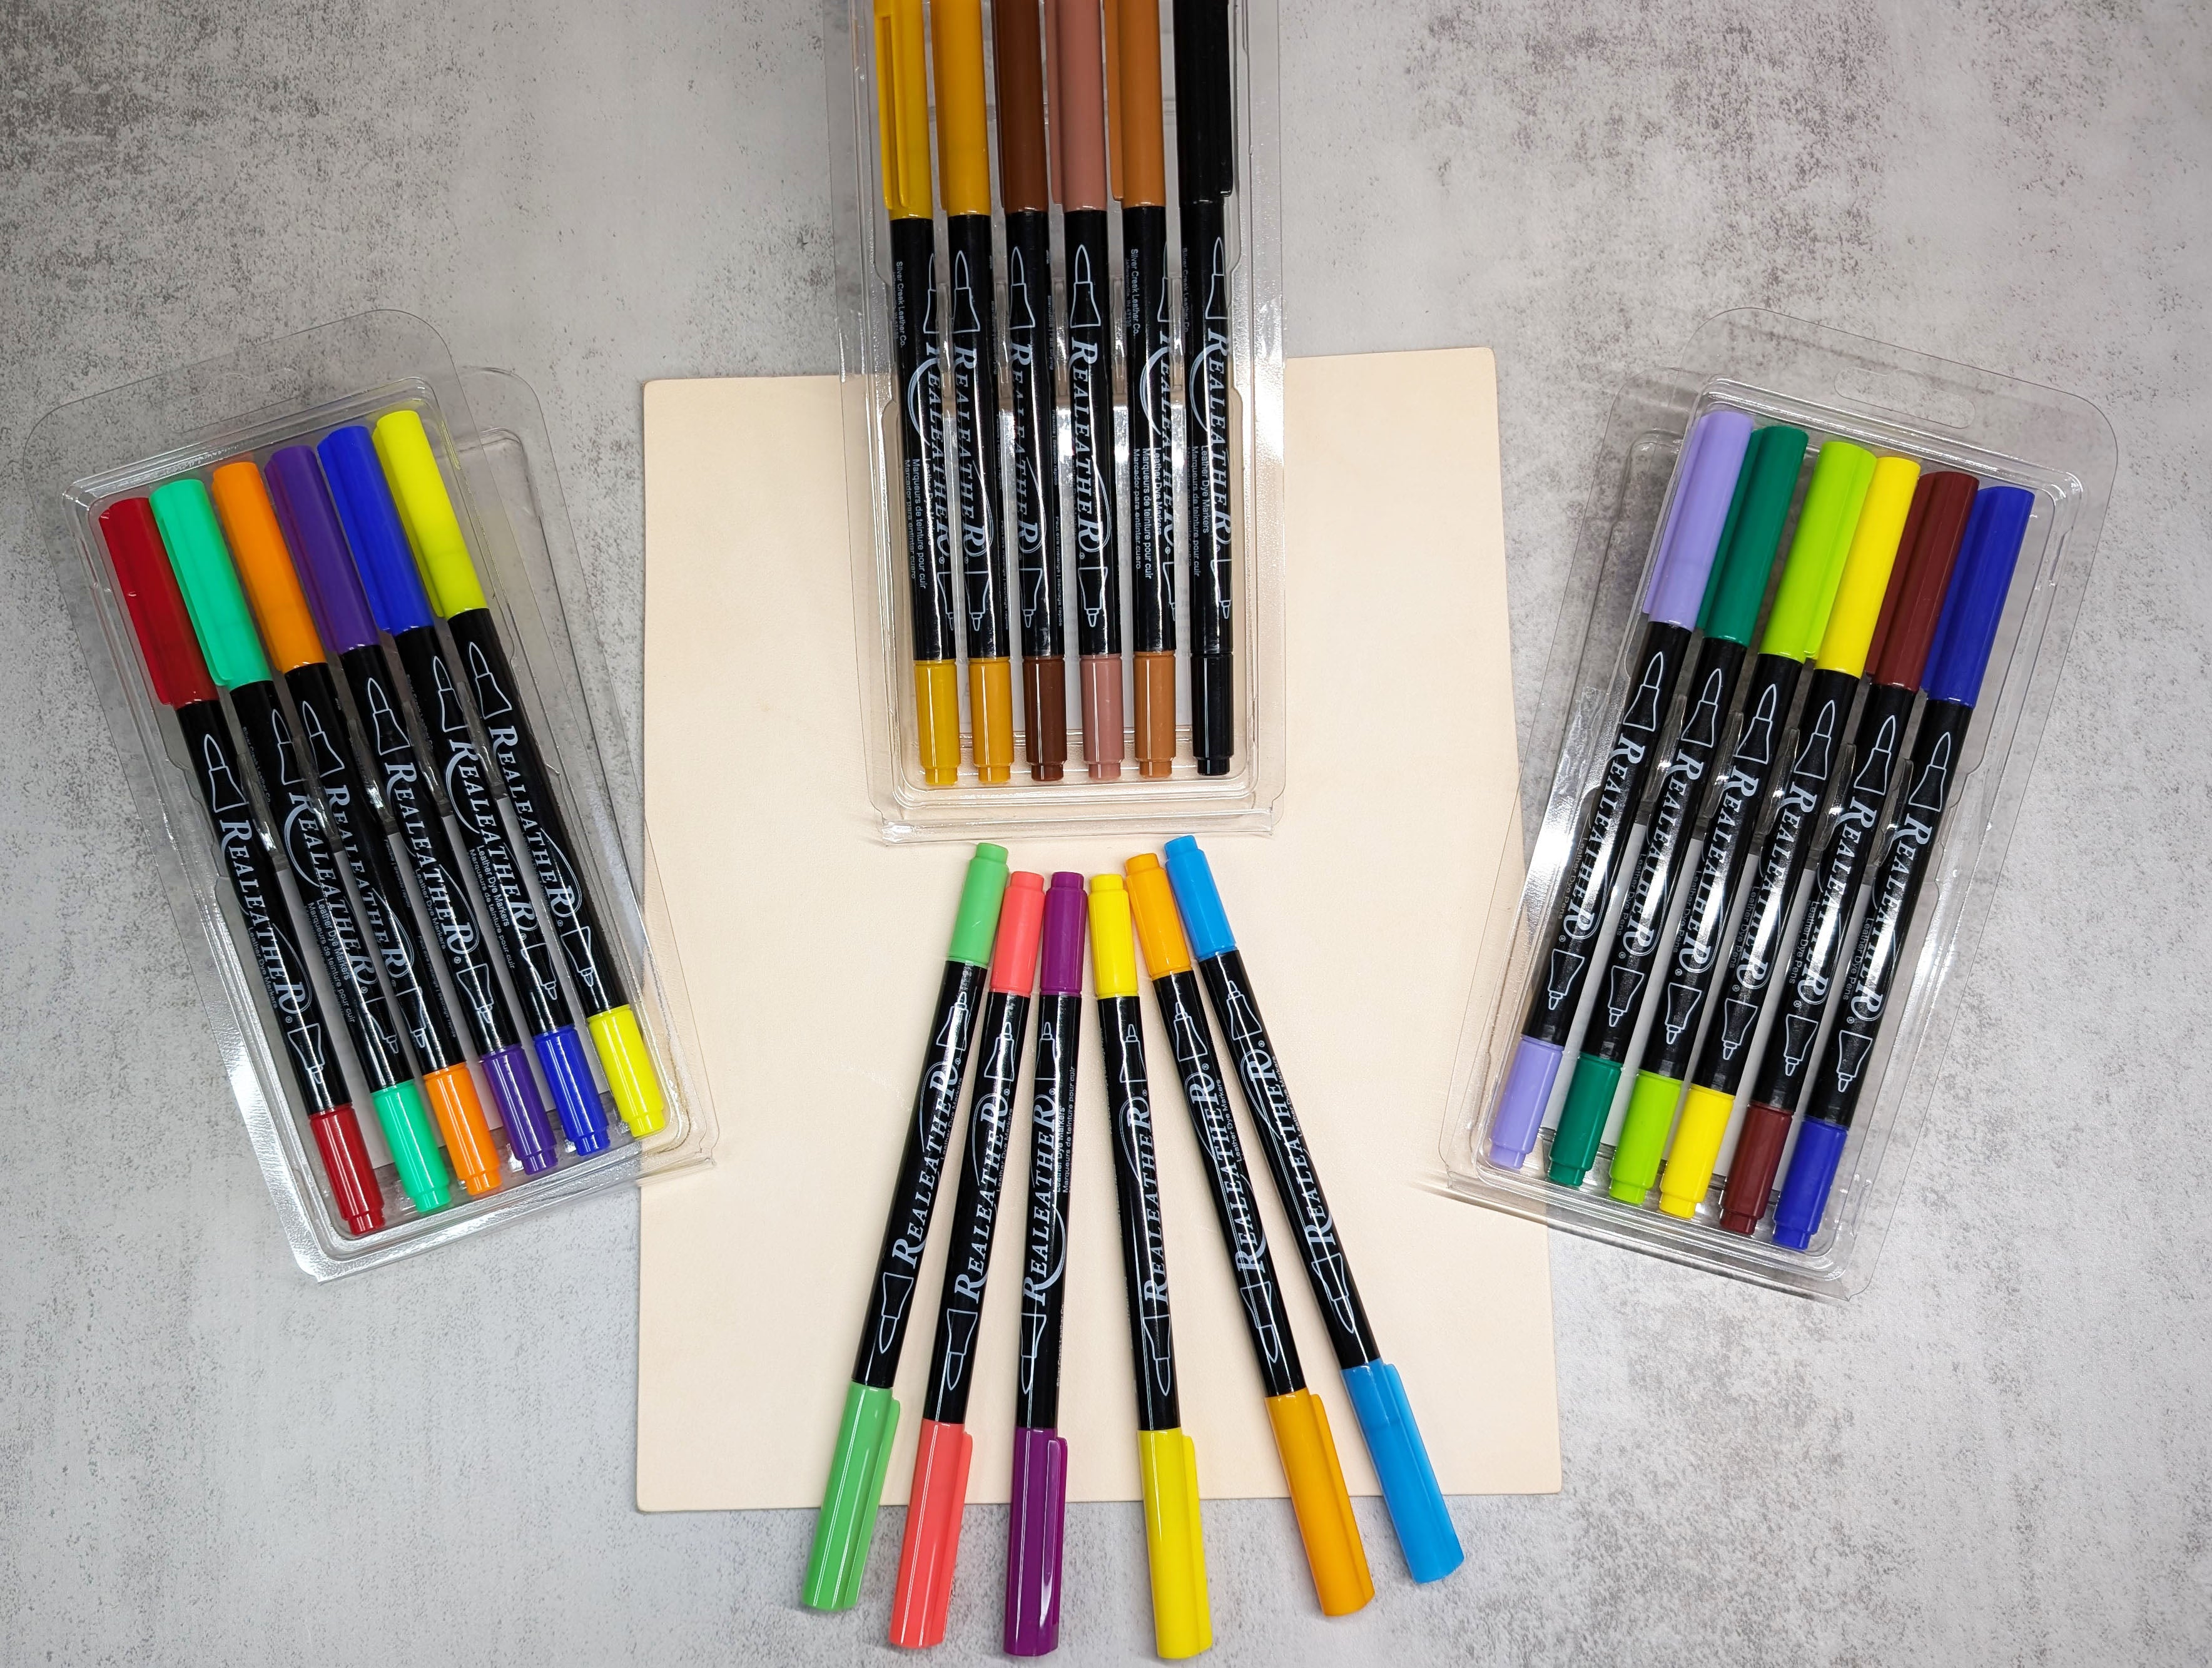
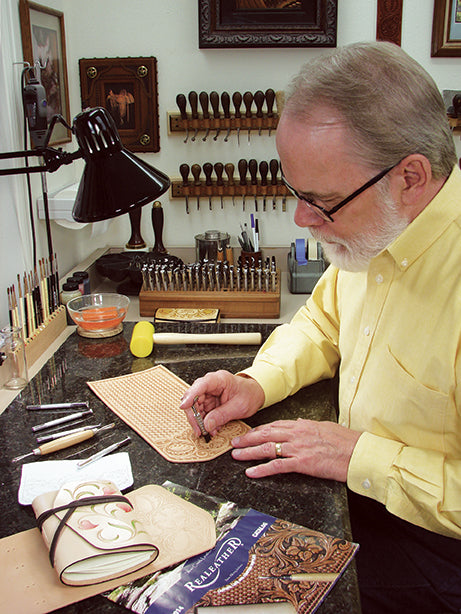
Realeather Dye Pens work great to color leather and add your own unique designs to vegetable-tanned leather.
Rivets and Chicago screws work great for assembling projects with no sewing.
For more information or questions about these projects, visit the Kim & Garrett Make It page for more details.